Month: December 2022

How Do You Remove a Stuck Oil Drain Plug from Your Car?

How Do You Remove a Stuck Oil Drain Plug from Your Car?

Trying to differentiate an oil drain plug from a hub cap wrench isn’t always straightforward for those who know very little about vehicles. Choosing the DIY route is incredibly useful because finances are stretched beyond limits. Removing a stuck oil drain plug, however, needs a lot of patience and care. You can’t just go into this heavy-handed as it’s likely to cause all sorts of problems; so, you need to approach this with a cautious mind and a little know-how. So, what do you need to know about removing a stuck oil drain plug from your car?

Warm Your Car Up

You should heat the engine for a few minutes to try and loosen the drain plug. This could make it a lot easier to get a grip on the situation. Don’t keep the car running for long, however, as it’ll be far too hot to work on. A few minutes should be sufficient. So, locate the plug and try to loosen it. Typically, it’s easier to work with an engine when it’s warm and you might find it easier to remove the plug. Unfortunately, it might not be as simple as you hoped.

Apply Penetrating Oil on the Plug

Sometimes, the plug is not ready to move, regardless of what you do to it. When you have a stubborn drain plug, you need to be a bit more forceful with it. So, apply a penetrating oil around the plug and let it sit for two or three hours. This should work its way through the drain plug and hopefully loosen a few things. Take a mallet to the plug and gently tap it to loosen it. Don’t be overly enthusiastic with the mallet otherwise, you’ll damage the plug, and it may never get unstuck. An oil cap wrench could be a useful substitute if you don’t have a mallet at hand.
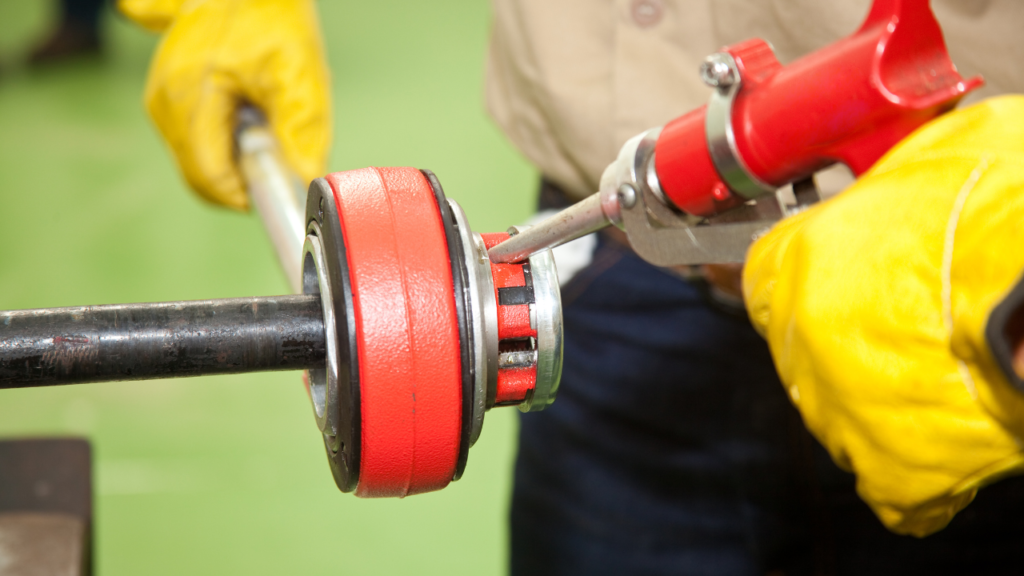
Grease and Tools

Grease and Tools

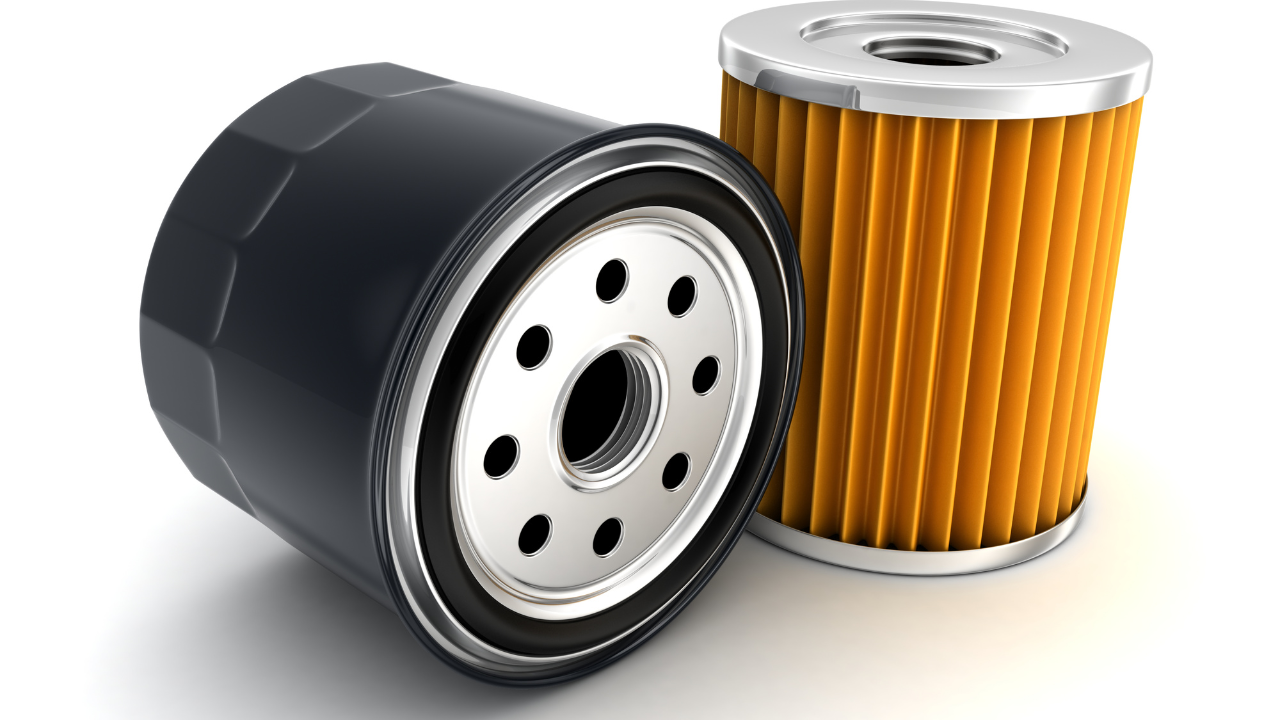
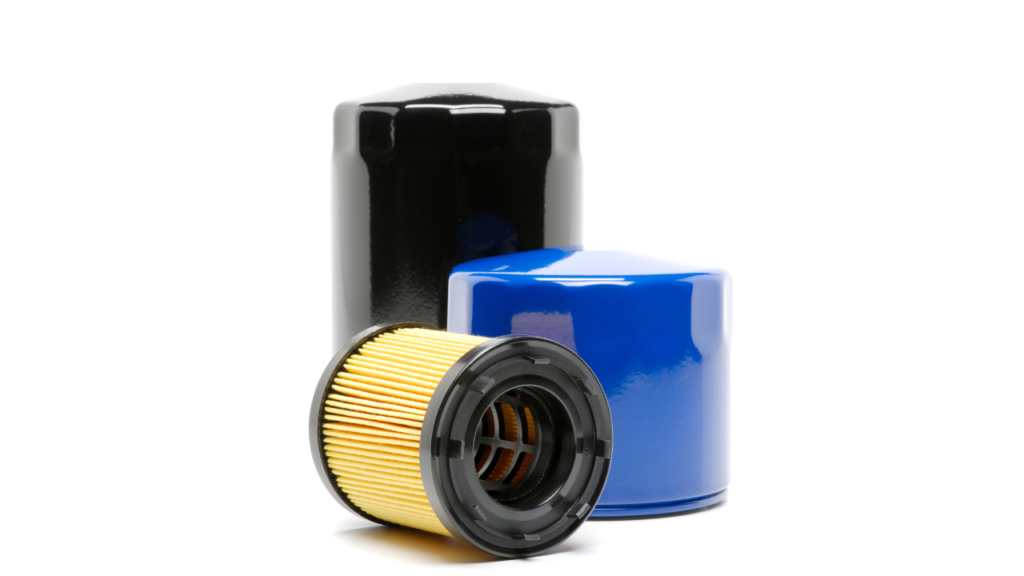
Socket wrenches or gator grips could help loosen the drain plug; however, you have to be careful with these. You can’t be too heavy-handed in your approach; you need to be firm but gentle. Remember, if you’re too rough you’ll damage the oil drain plug and might need to pay for repairs. You should also lubricate the plug to encourage it to loosen up. You can read about How to Remove an Oil Filter without a Wrench – 4 Methods to Choose From by clicking here.

Call in a Professional

Stuck oil drain plugs are troublesome issues. In most cases, you’ll be able to coax it loose; unfortunately, that’s not always the case. When you have exhausted your options, you may want to call a professional for help. Mechanics have seen it all and they should be able to resolve the issue without too much trouble. You can also read about Overview of automotive engine friction and reduction trends–Effects of surface, material, and lubricant-additive technologies by visiting https://link.springer.com/article/10.1007/s40544-016-0107-9

Resolve the Problem

There are ways to remove a stuck oil drain plug from a car, including using grease and wrenches, heating the engine, and applying penetrating oil. Sometimes, these things will work, and you won’t have to call in a mechanic. Unfortunately, if these methods fail, you will need to call in a professional. Fortunately, it isn’t too expensive and can resolve the problem quickly. Like a hub cap wrench, the right tools to fix the problem.

How to Remove an Oil Filter without a Wrench – 4 Methods to Choose From

How to Remove an Oil Filter without a Wrench – 4 Methods to Choose From

Not everyone owns an oil cap wrench. Not everyone has a lot of tools sitting around at home. It’s a problem when you need to remove an oil filter at home and have no tools to assist you. Fortunately, there are ways to remove a filter without a wrench. Of course, tools make life much easier for everyone, but if you don’t have them to spare, you have other options. So, what methods do you have to choose from, and which is best?

Remove the Oil Filter by Hand

One of the simplest options to try is by hand. This mightn’t sound ideal to some but don’t dismiss it entirely. You’ll need some safety glasses and gloves, a jack and stand, some rags, and a drainage pan (to catch the grease). So, jack up the car and ensure it’s secured before getting into position. Place the drainage pan under the car and wipe down the filter. Grip the filter tightly and turn it counterclockwise.

Create an Oil Filter Wrench

You can create a filter wrench with a little know-how. You’ll need a socket wrench and extension, a bandana, a drainage pan, safety glasses, gloves, and old rags. So, roll the bandana to form a circle (which will be your strap) and tie a loose knot at the end. Put the socket extension through the knot and secure it. Wipe the grease from the oil filter and put the wrench around the filter and twist. This should loosen it, hopefully. Click here to read about What Can I Use to Replace an Oil Cap on my Car?

The Last Resort is to Use a Screwdriver

Create a Belt Strap Wrench

Most people have a wrench at home, and you can create a tool that helps you remove an oil filter. It’s a useful option to consider and you’ll need a drainage pan, belt, rags, a jack and stand, and some safety glasses and gloves. Place it around the filter and gently loosen the filter. It will make life easier and shouldn’t be difficult to do at home either. You could even use a hub cap wrench to help in this task.

The Last Resort is to Use a Screwdriver

This method is not always recommended because it involves you using a screwdriver to pierce a hole into the filter. If you don’t want to visit your mechanic and everything else has failed, this might be your only option. You’ll need a drainage pan, safety gloves and glasses, a jack and stand, and a reliable screwdriver. Once your vehicle is in position, carefully put the screwdriver to the center of the filter and ease your way through the cap. You can also read about Types of automotive lubricant by visiting https://www.autodeal.com.ph/articles/car-features/types-automotive-lubricant

Call on a Professional if in Doubt

Removing an oil filter without a wrench isn’t entirely straightforward. There are, however, other methods to try, such as punching a hole through it with a screwdriver, constructing a homemade wrench, and the by-hand approach. Each has its advantages and disadvantages. Of course, if you aren’t sure about these methods, contact a mechanic for assistance. An oil cap wrench could be used to help assist in these matters, but if in doubt, get help.

What Can I Use to Replace an Oil Cap on my Car?

What Can I Use to Replace an Oil Cap on my Car?

It’s easy to misplace an oil cap; you might check the oil cap wrench and every inch around your car, but these things are easy to lose. When you lose something as important as an oil cap, you start to panic. You don’t know what to do until you find it or get it replaced. The unfortunate part is that the oil cap has a crucial role in the running of a vehicle and without it, it might not be advisable to drive. Fortunately, there are creative ways to replace a lost oil cap. So, what can you use to replace a car’s oil cap?

A Make-Shift Seal

When you’ve lost the oil cap, you shouldn’t get behind the wheel of that vehicle. It isn’t safe and could put others at unnecessary risk. Unfortunately, if you only have one vehicle at home, you might need to be creative to temporarily fix the problem. A make-shift seal probably isn’t ideal but can be a temporary solution to consider. You do have to be extremely careful, but if done right, can be used until a new cap is purchased.

  • Twist an old towel into a cone shape and gently fit it into the space where the oil cap used to sit.
  • Trim away the excess towel. You don’t want it to catch fire, so it’s necessary to use a small towel or cloth to help plug the gap temporarily.
  • Use masking tape to cover the towel. It should keep the towel in place until a replacement is found. You do have to keep an eye on this, however, to avoid oil leaking into the engine.

While it’s easy to plug the gap left behind by the oil cap, you cannot use a makeshift cap indefinitely. This really should be a one-time thing that gets you to the store that sells a new oil cap. Remember, it’s dangerous not to have an oil cap on your car. Like a makeshift hub cap wrench, it won’t last forever, and you really need to get a replacement cap.

The Danger of Driving Without an Oil Cap

No one thinks about oil caps or filters when they’re driving but they are an essential part of the vehicle. For instance, if you drive without an oil cap, your oil will soak the engine. When it happens, it could begin to smoke, and that spells disaster on an open road. You could crash into a car or hit a pedestrian; that’s the danger of oil spilling into an engine. Visit https://www.manorgp.com/how-do-you-remove-a-stuck-oil-drain-plug-from-your-car/ to read about How Do You Remove a Stuck Oil Drain Plug from Your Car?

Replace the Oil Cap Immediately

Replace the Oil Cap Immediately

Oil caps are meant to be on a vehicle and if you lose one, get it replaced quickly. As said previously, oil is likely to spill into the engine and when it happens, it could stop completely. While that is a worst-case scenario, it is possible and could cost you thousands in repairs.

Replacing the cap is not as difficult as you think. Visit any mechanic and they should be able to help; in the meantime, you might need a make-shift replacement. Cick here to read about What is the future for passenger car lubricants?

Care for Your Car

Oil caps can be misplaced or be shaken loose. When it happens, you have to be smart and think about what you can do to minimize the damage until a new cap arrives. The more sensible idea is to simply not drive the vehicle; of course, it might not always be an option.

Instead, you need to find a suitable replacement. A make-shift cap has its uses but it is not a long-term fix – it’s a temporary one. You wouldn’t use an oil cap wrench to remove the hubcaps, so don’t use the right item to replace an oil cap.